
The Roles page is where your company defines the types of security roles they want to use in the application. Generally, the roles would be along the line of administrator, auditor, engineer, and so on. The roles are granted different access to the data to provide streamlined data to those who need it, and access to everything for those maintaining the system.
There are five role types:
- Universal Roles: Used to quickly assign rudimentary permissions to all users.
- Functional Roles: Control what users can do in the application.
- Data Access Roles: Control what data users have access to.
- Approval Roles: Used to define what role users play in approval processes.
- Publishing Roles: Control how users share objects created within Reserves (custom hierarchies, report option sets …etc.)
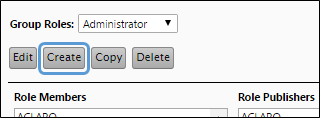
How to Access the Users Page
- Select Security from the Navigation Toolbar.
- Click on the Users and Roles tab, and then the Roles page.

Create New Roles
To create a new role, follow these steps:
- Click the Create button.
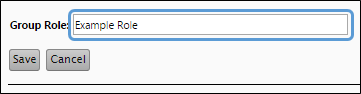
- Type a name for the role in the Group Role field.
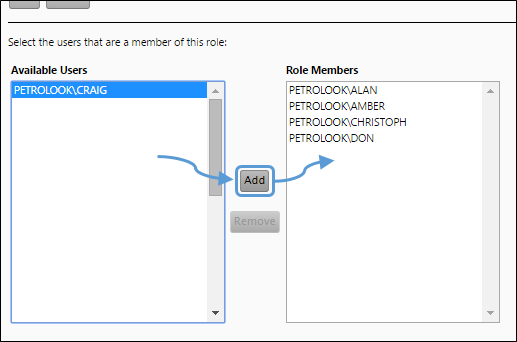
- Select the users that will be included in this group role by selecting from the list of Available Users, then clicking the Add button.
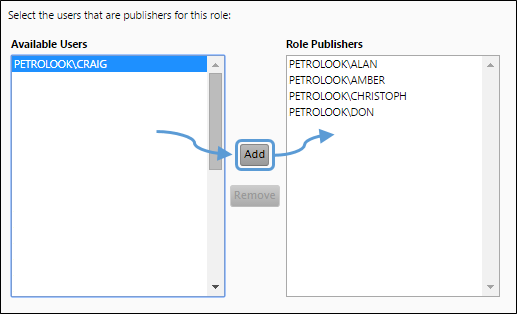
- Select the users that will be able to publish for this role by selecting from the list in the Available Users field, then clicking the Add button.
- Click the Save button.
Click image to expand or minimize.
Click image to expand or minimize.
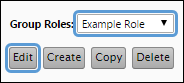
Edit Roles
To modify a preexisting role, follow these steps:
- Select the role you wish to edit from the Group Roles drop-down menu.
- Click the Edit button.
- Modify the role as you would when creating it. You will be able to:
- Modify the role's name
- Modify the list of users who are members of the role
- Modify the list of users who are publishers for the role
- Click the Save button when you have finished making changes to the role.
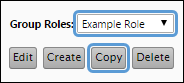
Copy a Role
To create a copy of a role, follow these steps:
- Select the role you wish to copy using the Group Roles drop-down menu.
- Click the Copy button.
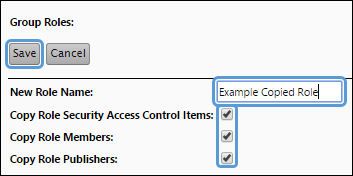
- Set up your Role's options:
- Enter a unique name for your copied role in the New Role Name field.
- Toggle the Copy Role Security Access Control Items option to copy the security settings associated with your original role. When this option is enabled, the copied role's permissions will match that of the original.
- Toggle the Copy Role Members option to add the list of users who are members of the original role, to the copied role.
- Toggle the Copy Role Publishers option to add the list of users who are publishers for the original role, to the copied role.
- When you have finished setting up your copy's options, click the Save button.
Setting up Your Role-Based Security
After creating your roles, you can permit their access to parts of the application using The Data Security Filter Assignment Page.